The InfoBox
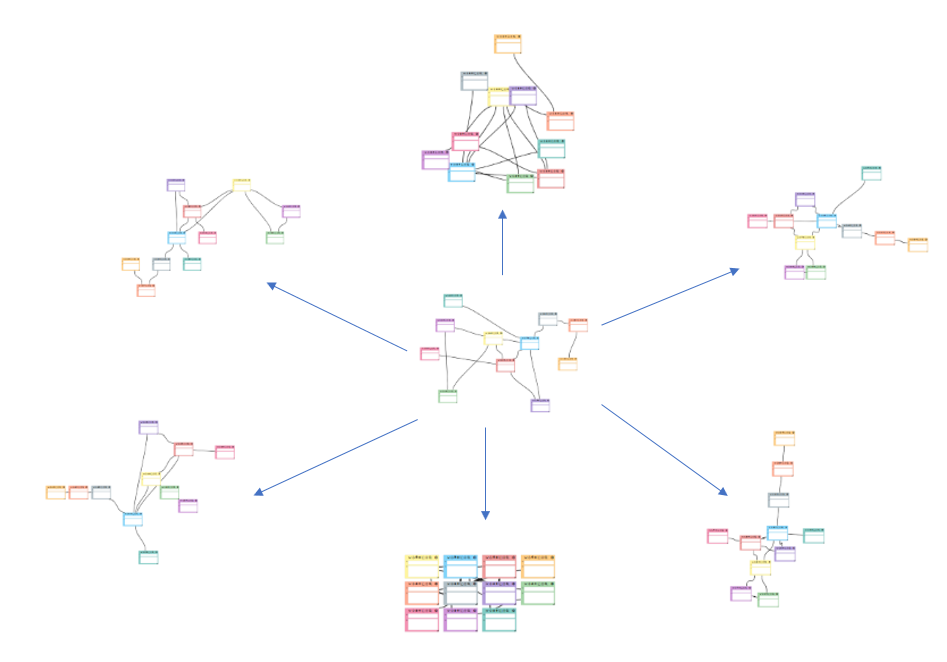
A network of InfoBoxes is what makes up a mind map in MapsOfMind. Its a simple element to store and organize all your information.
In this post, we will explore all the functions of the InfoBox.
The InfoBox is basically a container for other types of boxes. Each type of box is unique in its functions and the type of information it stores. Currently, there are 5 different boxes you can add to an InfoBox. They are:
Each box has a dedicated post explaining everything you can do with it!
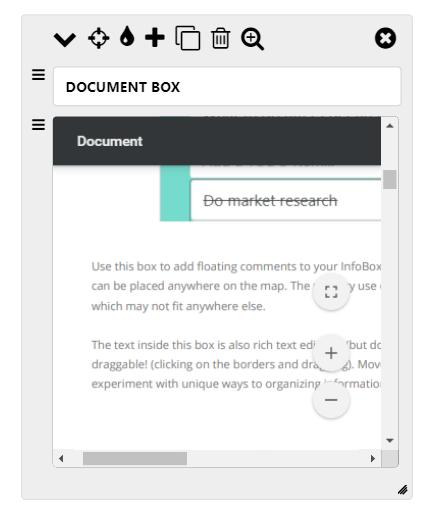
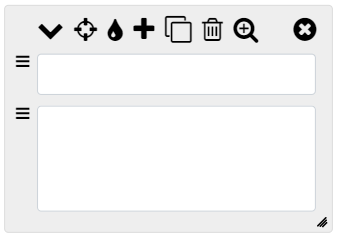
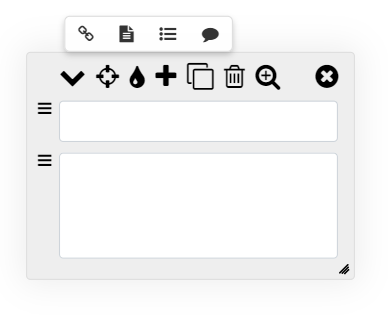
In the infobox above, there are 2 boxes - plaintext box and richtext box. Anytime you add an InfoBox to a map, you will see those 2 boxes as default when an InfoBox is created. Let's look at the functions of the icons in the InfoBox:

This is the InfoBox minimize button, to understand what it does, look at the images below.
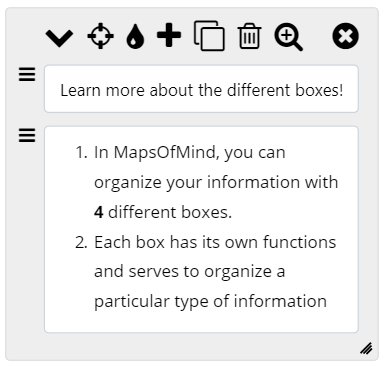
Before clicking on the minimize button:
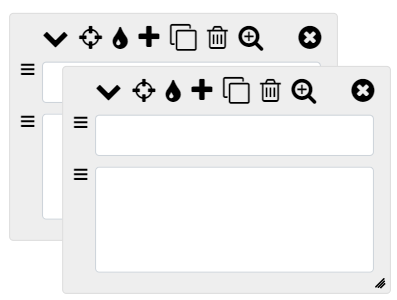
After clicking on the minimize button:
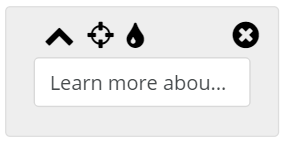
As you can see, it minimizes the whole InfoBox no matter how big it is, into a tiny box with just the most essential icons and a very short text of the content inside the box. This is very useful when you have a map with lots of InfoBoxes and would just like to either get a clearer picture of the overall structure, or to just rearrange the boxes easily.

Arguably the most important function in an InfoBox. You create connections with other InfoBoxes by clicking on this icon and dragging a connector to the desired InfoBox. If you are still confused, the GIF below will help you figure out how to drag a connection.

You can add different boxes to an InfoBox by clicking on this icon and selecting an icon describing a type of a box. This is what you will see when you click on the this plus icon:
To add a comment box, click on ![]() icon.
icon.
To add a plaintext/link box, click on  icon.
icon.
To add a richtext box, click on  icon.
icon.
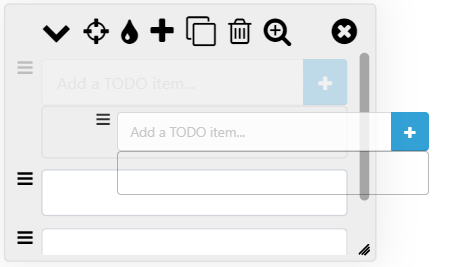
To add a todo box, click on ![]() icon.
icon.

Use this icon to completely clone an InfoBox, it creates another InfoBox just below the original InfoBox with all the properties of the original InfoBox including the content and the boxes (except comment box) inside the InfoBox.

If you want to delete boxes inside the InfoBox, click on this icon to enable delete mode which makes a icon appear on the left of every single box inside an InfoBox and you click on that icon to delete that box alone. Note that this replaces the
  with the trash icon, to revert back to the drag icon (i.e toggle the delete box mode), click again on the icon on top of the InfoBox.
![]()

To zoom in on a specific InfoBox, click on this icon. This centers the InfoBox in your window.
Clicking on this icon deletes the InfoBox and any connections made to or from this InfoBox.
You would have noticed the 3-bars icon on the left side on all boxes inside an InfoBox. This appears by default for all boxes. You can rearrange the boxes inside an InfoBox by dragging this icon and dropping it anywhere inside the InfoBox.
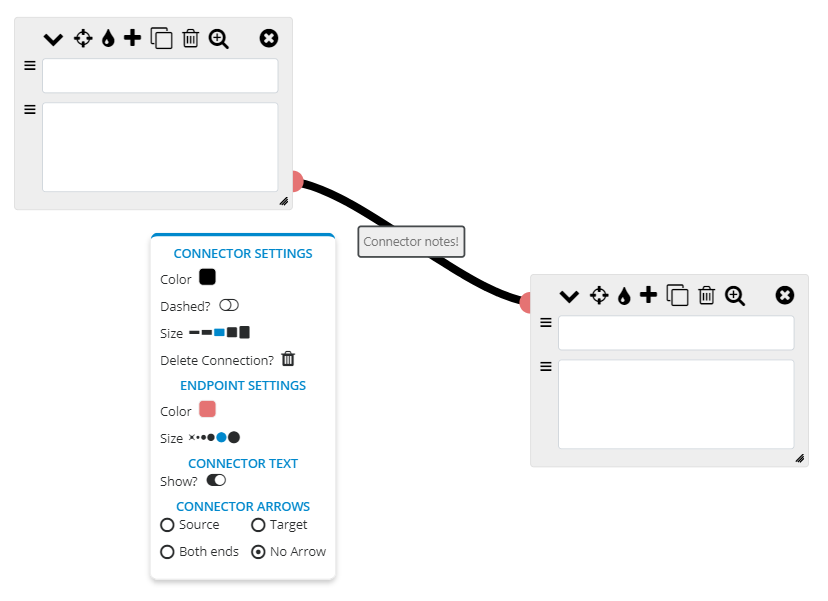
Connectors
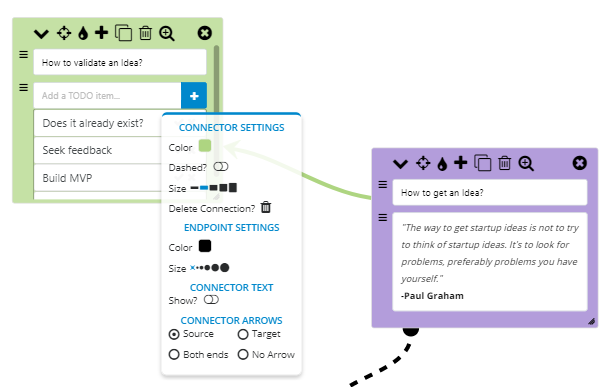
It's not called a mind map if there are no connections! You can connect InfoBoxes like the in the GIF above. But how to you customize it? Simple! Just Right-click the connector!
Right-clicking a connector will bring up a popup box with all the customization options for that connector. 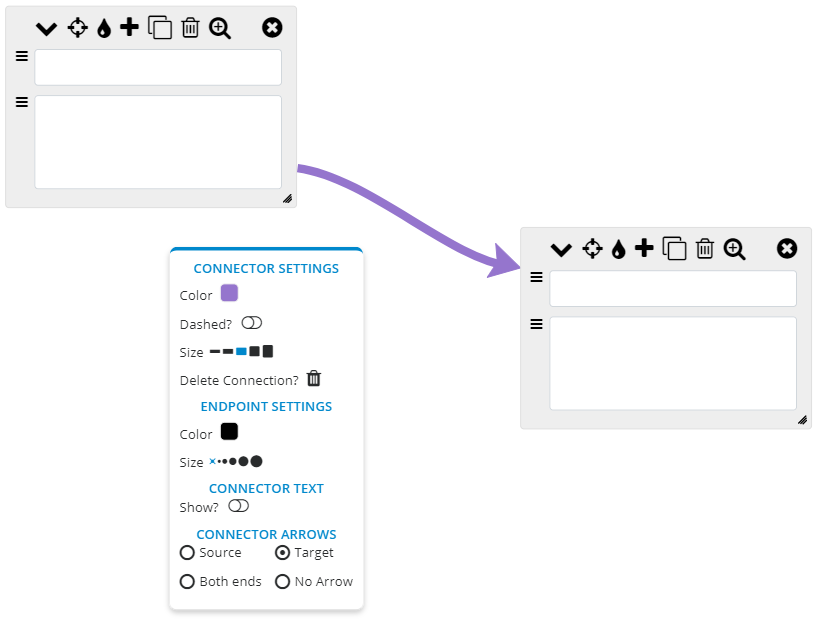
You can change the size, color, of connector and the endpoints, add arrows and even add a editable connector text! (To edit the connector text, just click on the connector text box and edit it like a normal text box)
That's the entire feature set of the InfoBox and the connectors! I hope this post helps you create awesome mind maps!
Want to learn more about the boxes inside InfoBox? Click on the links below to learn more about each type of box in depth.
Let us know if you would like a feature added or if you need help mind mapping with MapsOfMind!